Ready to Serve – 24/7
Prevent Frozen Pipes: Your Guide to Frozen Pipe Prevention & Water Damage Control
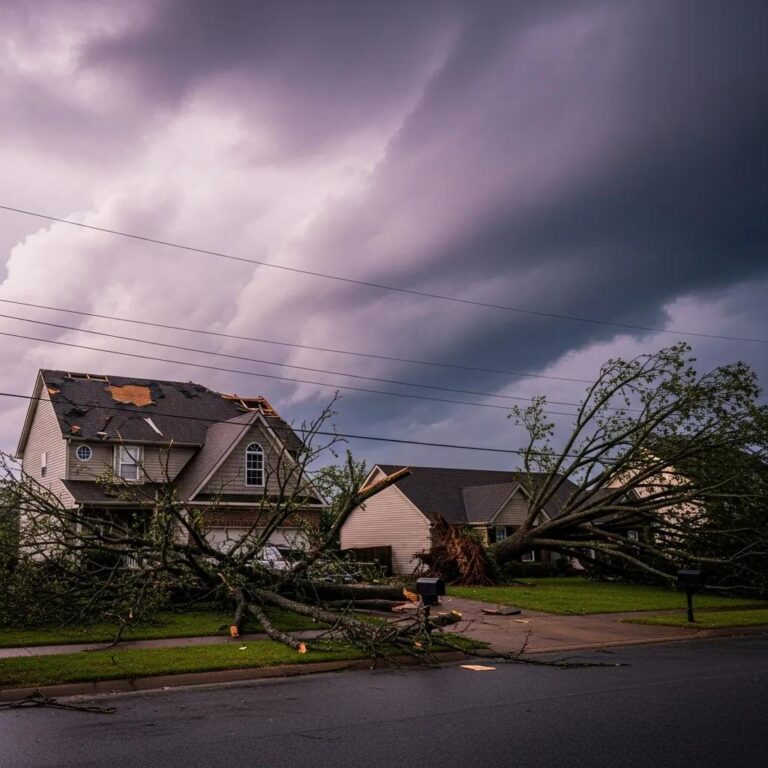
When water in your pipes freezes, it expands. This creates a lot of pressure. This pressure can cause burst pipes and serious water damage. This guide from 24 Hour Flood Fighters will explain why pipes freeze. It will show which areas in Nashville and Murfreesboro homes are most at risk. You will also learn about smart insulation choices and get step-by-step tips for winterizing your home. You will learn easy DIY installation steps. You will see how smart detectors and automatic shut-offs can help you. You will also find out what to do if a pipe bursts. This will help reduce water damage and mold growth. Our goal is to provide you with a clear checklist. This list will help you prevent frozen pipes. We also want to give you an emergency plan. This plan will help you act quickly if something goes wrong.
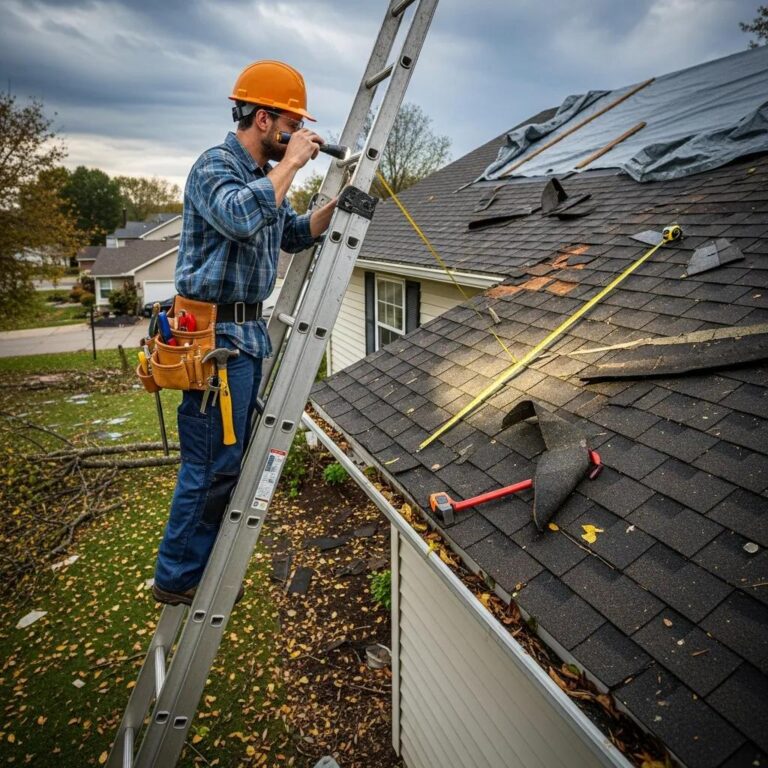
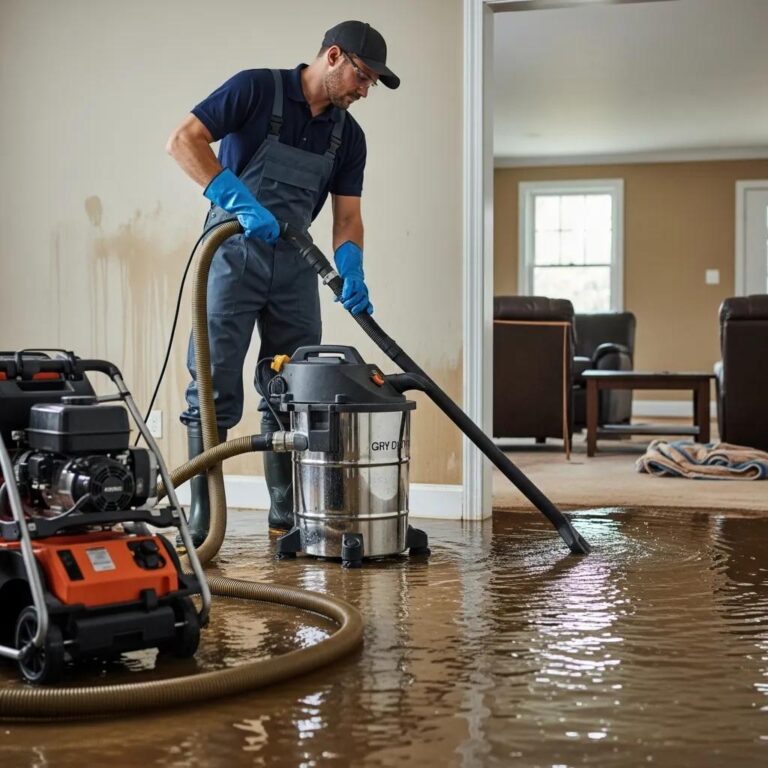
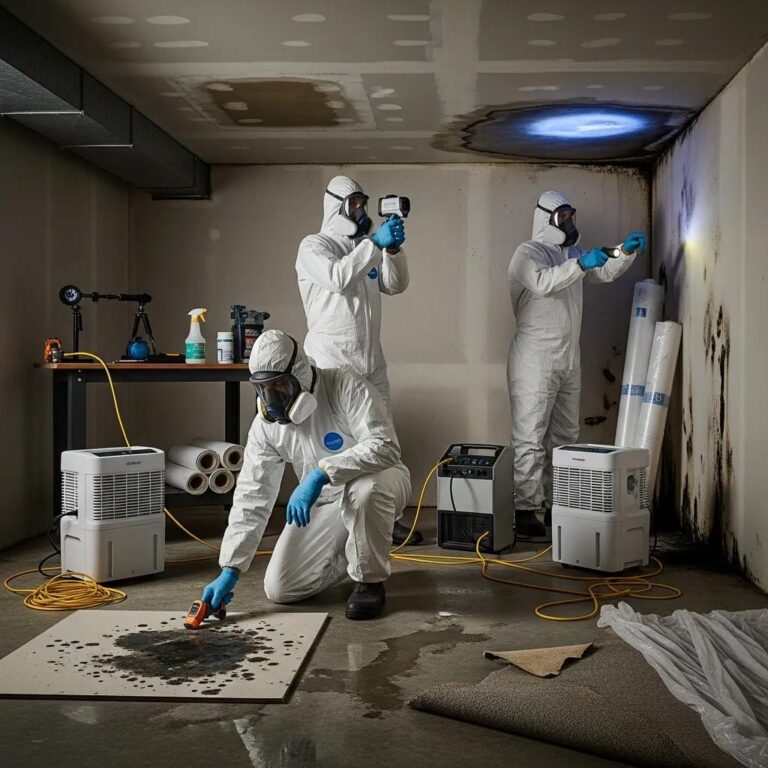
As your trusted emergency restoration experts in Middle Tennessee, 24 Hour Flood Fighters provides rapid water damage restoration and mold remediation to homeowners and businesses across Murfreesboro, Nashville, and surrounding areas. If prevention isn’t enough or a burst occurs, our certified teams are ready 24/7 to mitigate damage, dry structures, and remediate mold. This article focuses on cost-effective prevention and early detection strategies, so you can avoid emergency restoration whenever possible.
Why Do Pipes Freeze and Burst in Your Home?
Pipes freeze when cold air reaches exposed plumbing, turning the water inside to ice. As the ice expands, it builds pressure that can cause pipes to burst. The main causes are poor insulation, air leaks, and long exposure to freezing temperatures in walls, attics, or crawl spaces. By insulating pipes, sealing drafts, and keeping your home warm, you can prevent this kind of damage before winter starts. Knowing what causes frozen pipes helps you focus on the most effective — and affordable — fixes.
At What Temperature Do Pipes Typically Freeze?
Generally, pipes start to freeze when the surrounding air temperature drops below 20°F. However, freezing can happen at slightly higher temperatures if pipes are on exterior walls, exposed to wind, or poorly insulated. The actual freezing point depends on the microclimate within your walls and how long cold temperatures last; a brief dip below 32°F might not freeze well-protected pipes. Keeping your thermostat above a safe minimum and eliminating drafts near plumbing will raise the local temperature and keep water from freezing. This means you should act proactively when forecasts predict multi-hour lows near or below the 20–25°F range.
Which Areas of Your Home Are Most Vulnerable to Frozen Pipes?
Pipes are most at risk where they’re exposed to cold air, lack proper insulation, or are near exterior surfaces.
- **Attics and uninsulated crawlspaces** often expose pipes to outdoor temperatures.
- **Exterior walls**, especially where pipes run through stud cavities, create cold spots.
- **Unheated or poorly sealed garages, basements, and utility closets** significantly increase freeze risk.
These vulnerable areas need specific attention, like pipe sleeves, wall insulation, and sealing air leaks, to protect your plumbing. Focusing on these spots offers the best return on your effort, as they are where freeze and burst incidents are most likely to occur.
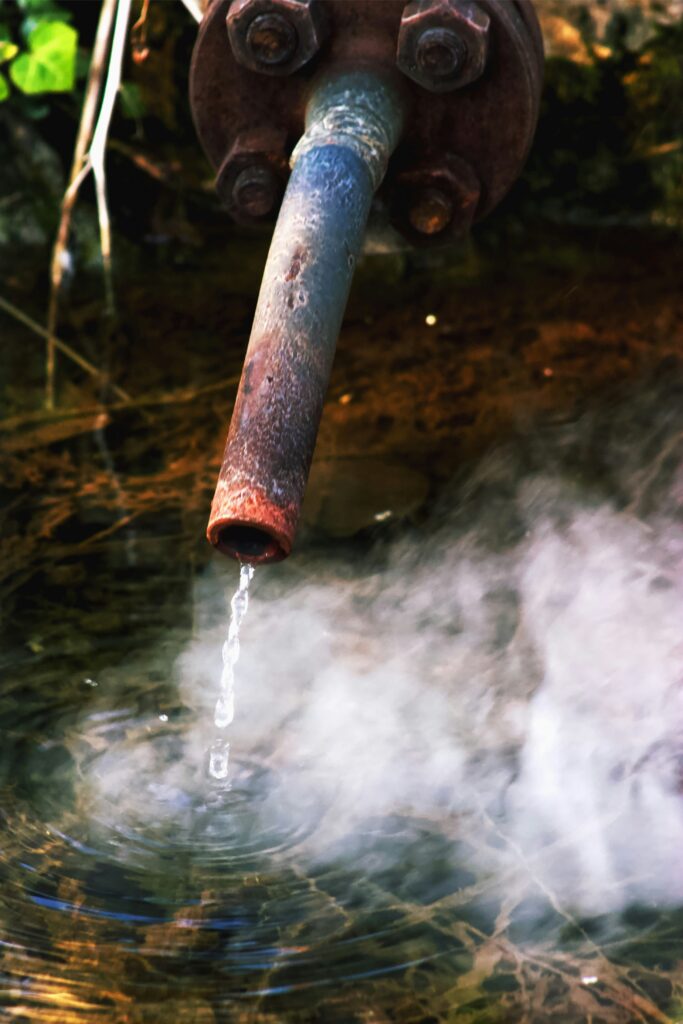
How Does Pipe Freezing Lead to Burst Pipes?
When water freezes, it expands by about 9% in volume. This expansion creates immense pressure between the ice blockage and any closed valve or fixture, which can cause pipe walls or joints to rupture. Think of it like an ice plug in a hose: the trapped water has nowhere to go as it expands, forcing the hose to split. Early warning signs include reduced water flow, strange clicking noises in your walls, or frost on exposed pipes. Noticing these signs allows you to act before a catastrophic failure. Knowing how this works helps you pick good preventive steps. You can relieve pressure and warm pipe sections. This is better than just reacting to a break.
What Are the Best Pipe Insulation Solutions to Prevent Freezing?
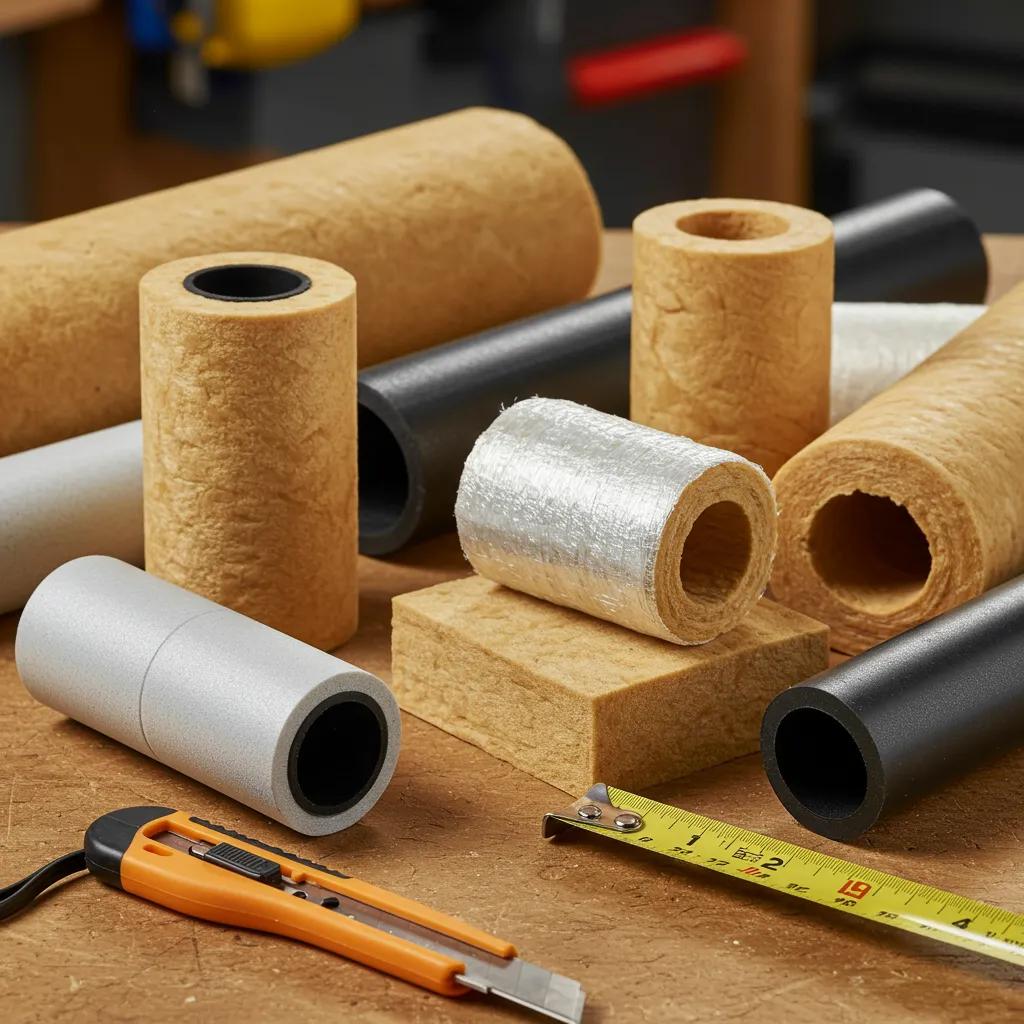
Effective pipe insulation acts as a thermal barrier, slowing heat loss and extending the time it takes for pipes to reach freezing temperatures. Choosing the right material depends on where it’s used (indoors vs. exposed outdoors), potential moisture exposure, and your DIY comfort level. The real value here is that proper insulation is a small, proactive investment that can save you from the huge cost and disruption of repairing burst pipes and extensive water damage. Here’s a quick comparison of common options to help you decide.
Comparing Common Insulation Materials
Different pipe insulation materials are suited for various uses and budgets.
| Material | Typical R-value / Characteristic | Best Use |
|---|---|---|
| Foam sleeve | Low–Medium; closed-cell, moisture-resistant | Indoor exposed copper or PVC pipes |
| Fiberglass wrap | Medium; good for higher temps, needs vapor barrier | Attics, non-condensing hot water lines |
| Rubber (EPDM) | Medium; flexible, durable | Outdoor or vibration-prone pipes |
| Heat tape | Active heating; requires careful installation | Vulnerable outdoor spigots and long, exposed runs |
This comparison shows that foam sleeves are the easiest for DIY indoor projects, while heat tape provides active protection where passive insulation isn’t enough.
What Types of Pipe Insulation Are Most Effective?
The right insulation keeps your pipes warm and prevents freezing. Foam sleeves are inexpensive, easy to install, and great for quick DIY protection on straight pipes or elbows. Fiberglass wraps work better for larger pipes and hot-water lines but need a vapor barrier to stop moisture buildup. Rubber sleeves are durable and flexible for odd-shaped runs, while heat tape adds extra protection for outdoor spigots or unheated areas. Choose the option that fits your budget, moisture level, and pipe location for the best results.
How Can You Install Pipe Insulation Yourself?
A typical DIY installation only requires a few basic tools: a tape measure, utility knife, zip ties or insulation tape, and safety gloves. Here are the steps:
- Measure your pipe’s length and diameter, then purchase sleeves or wrap with a little extra for good measure.
- Clean the pipe surface, cut the insulation to size, and then slide or wrap it snugly around the pipe.
- Seal all seams with insulation tape and secure the ends with zip ties; pay extra attention to insulating elbows and joints.
Common mistakes include leaving gaps at joints, not protecting against moisture, and using heat tape incorrectly. Following these steps carefully and working methodically will help you avoid these errors. This project usually takes just a few hours for most homes and provides reliable, long-term freeze protection.
When Should You Hire Professionals for Pipe Insulation Installation?
Sometimes it’s best to let a pro handle the job. If your pipes are hard to reach, you should hire a professional. This is also true if you need electrical work for heat tape or if your pipes are made of different materials. A qualified expert makes sure everything is sealed, waterproofed, and up to code for long-term protection. 24 Hour Flood Fighters and local contractors can check your plumbing. They can suggest the right insulation and install it properly. This way, you can feel safe knowing your home is protected.
How Can You Winterize Your Home’s Plumbing to Avoid Burst Pipes?
Winterizing your plumbing involves several simple tasks that, when done together, significantly reduce the risk of freezing and exposure. A clear checklist helps you prioritize actions before cold weather arrives. Key winterization steps address both outdoor fixtures and indoor systems to keep your plumbing at safe temperatures during extended cold snaps. Each measure tackles a primary cause of freezing—exposure, lack of insulation, or insufficient heat—so following this checklist dramatically lowers the chance of a burst pipe. Use this checklist before the first hard freeze and again if prolonged cold is in the forecast.
Essential Winterization Checklist
- **Drain and disconnect** all outdoor hoses and shut off interior hose-bib valves.
- **Insulate exposed indoor pipes** and add pipe sleeves to vulnerable runs.
- **Maintain your indoor thermostat** at a safe minimum and open cabinet doors where plumbing is on exterior walls.
These steps are low-cost and prevent the most common freeze scenarios. Together, they drastically reduce the chance of a burst pipe in typical Middle Tennessee homes.
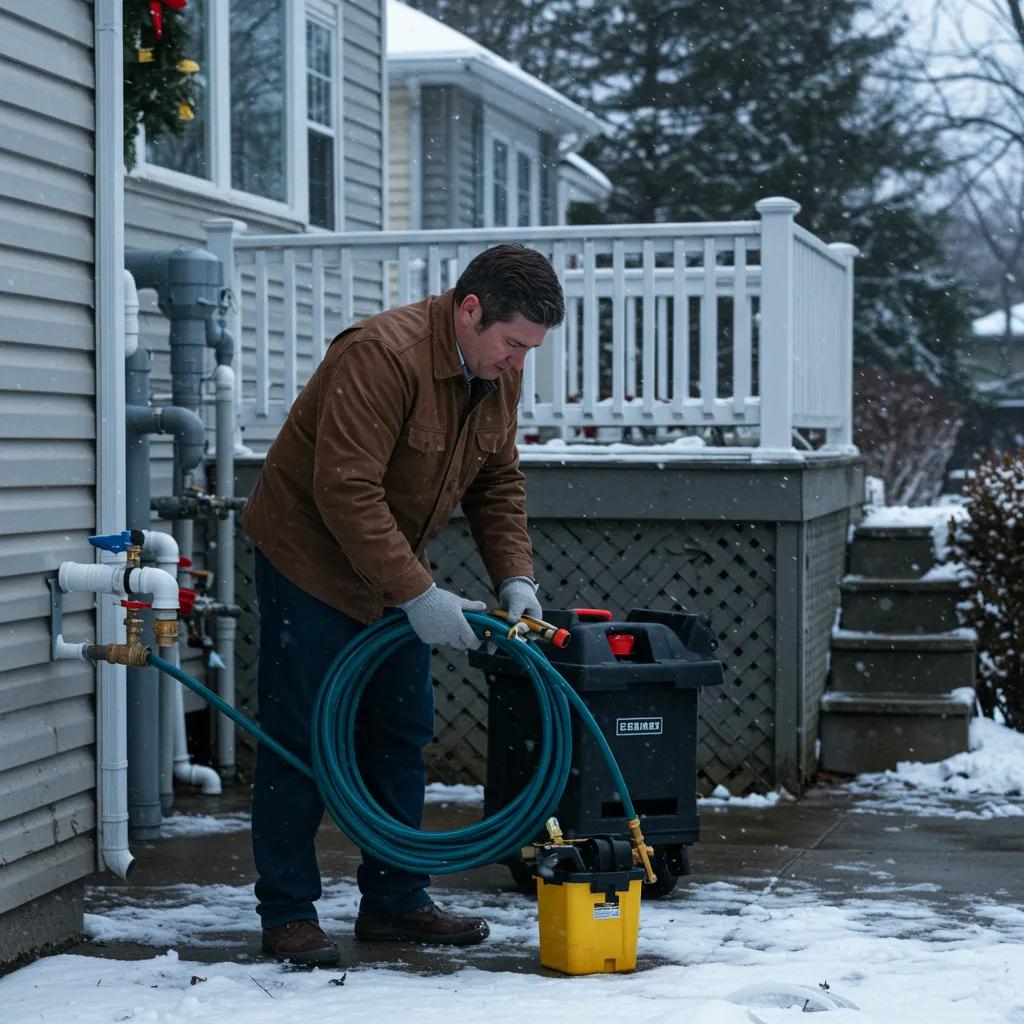
Why Should You Drain and Disconnect Outdoor Hoses Before Winter?
Water left in hoses and spigots can freeze, expand, and crack fittings, or even push ice back into your interior pipes if the spigot doesn’t have an interior shutoff. To prevent this, close the interior shutoff valve for the spigot, open the exterior faucet to drain any remaining water, and store your hoses indoors. Adding spigot covers and drained hose cuffs provides extra protection for areas that experience occasional freezing nights. Completing this simple sequence eliminates a frequent cause of winter plumbing failures and is a high-impact, low-effort task.
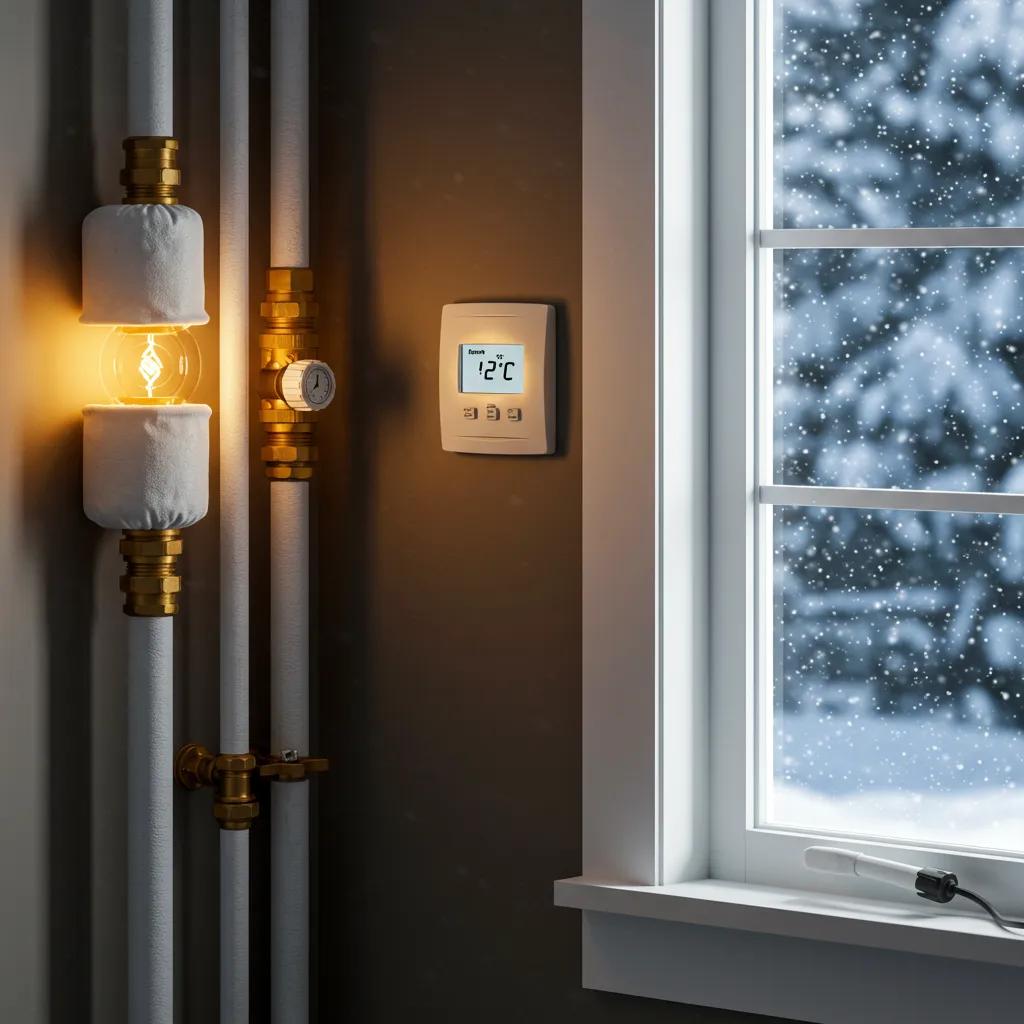
How Does Maintaining Indoor Temperature Help Prevent Frozen Pipes?
Keeping your thermostat set to a steady, safe level helps warm air flow through walls and prevents cold spots around pipes. You can improve circulation by opening interior doors, adjusting vents, or using a small space heater in unheated rooms. During extreme cold, avoid lowering the thermostat too much—steady heat works together with insulation and sealing to keep pipes from freezing.
What Are Other Winterizing Tips Like Opening Cabinet Doors?
Other cheap ways to save energy include:
- Sealing drafts around pipes.
- Insulating electrical outlets on outside walls.
- Opening cabinet doors under sinks. This helps warm air circulate around the pipes.
These practical steps address specific microclimates where cold air tends to accumulate and are highly effective when combined with insulation and thermostat strategies. Implementing several small measures together often prevents issues that a single action might miss.
Prioritizing Vulnerable Areas
| Area / Task | Risk Level | Action |
|---|---|---|
| Outdoor spigot | High | Drain, close interior valve, cover securely |
| Crawlspace pipes | Medium-High | Add insulation, seal vents tightly |
| Attic plumbing | Medium | Ensure adequate attic insulation and pipe sleeves |
Applying multiple targeted winterizing tasks reduces overall exposure and provides backup if one measure doesn’t perform as expected.
What Advanced Technologies Help Detect and Prevent Burst Pipes?
Modern technology can detect leaks early and even shut off water automatically to limit damage, turning detection into immediate loss reduction. Smart water leak detectors sense moisture or unusual flow and send alerts directly to your phone. Automatic shut-off systems close valves to stop water flow the moment a leak is detected. Smart thermostats can integrate with these sensors to maintain safe temperatures in vulnerable zones and offer remote control during cold spells. These technologies transform your protection from passive defenses to active risk management, significantly reducing both the likelihood and severity of burst pipe incidents.
How Do Smart Water Leak Detectors Work?
Leak detectors use moisture sensors, flow meters, or acoustic sensors to identify unusual water presence or movement, then alert you through app notifications or alarms. Battery-powered flood sensors are placed near potential leak points, while flow sensors monitor your main or branch lines for unexpected water usage. Strategic placement—near water heaters, under sinks, and at low points—provides excellent coverage while minimizing false alarms. These systems give you an early warning, allowing you to respond before small drips turn into catastrophic floods.
What Are Automatic Water Shut-Off Systems?
Automatic shut-off systems connect sensors to a motorized valve that closes when a leak or continuous flow is detected, stopping water within seconds to minutes. Passive systems require manual activation or a detected catastrophic event, while active systems operate autonomously and can drastically limit damage. Installation complexity varies from simple clamp-on valves to integrated whole-house systems that usually require professional setup. For many homeowners, installing an automatic shut-off where the main water line enters the home provides a powerful final defense.
Can Smart Thermostats Help Protect Your Pipes?
Smart thermostats maintain temperature setpoints more consistently and allow for remote control and scheduling, preventing unexpected temperature drops during cold weather. Features like geofencing, emergency hold, and multi-zone management help avoid temperature dips when you’re away, protecting pipes during unoccupied hours. Integration with leak sensors can create coordinated responses—like raising the heat while notifying you—so systems work together to prevent freezing and detect leaks. Smart thermostats offer both proactive and reactive benefits as part of a layered prevention strategy.
Comparing Advanced Protection Systems
| Technology | Alert Method | Installation Complexity |
|---|---|---|
| Flood sensor | App push / audible alarm | Low |
| Flow meter | App push / email | Medium |
| Motorized shut-off valve | Automatic shut-off | High |
24 Hour Flood Fighters can assess your home and recommend or implement leak-detection and shut-off systems as part of preventative consultations or after repairs, helping you choose solutions that fit your risk profile and budget.
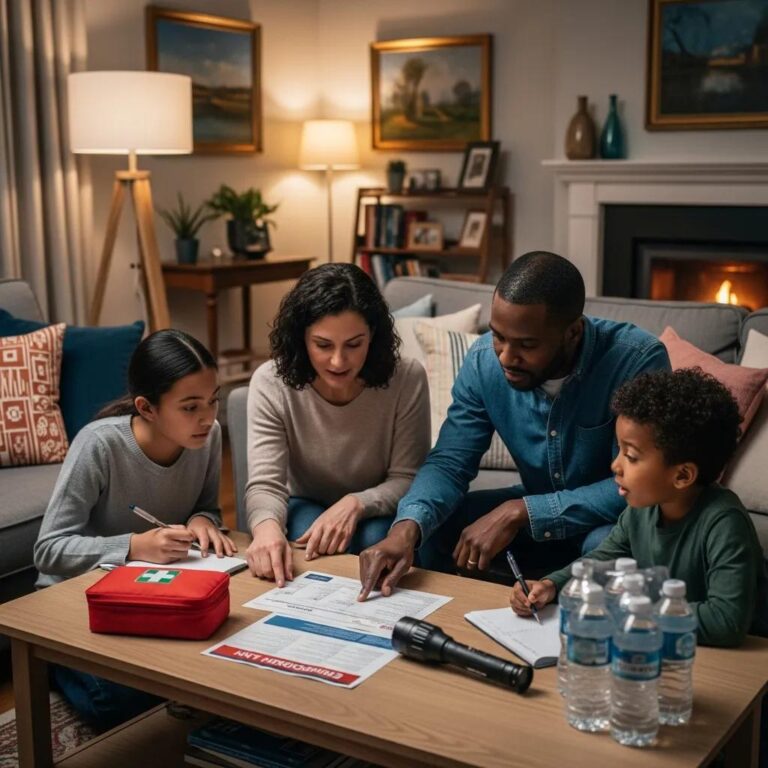
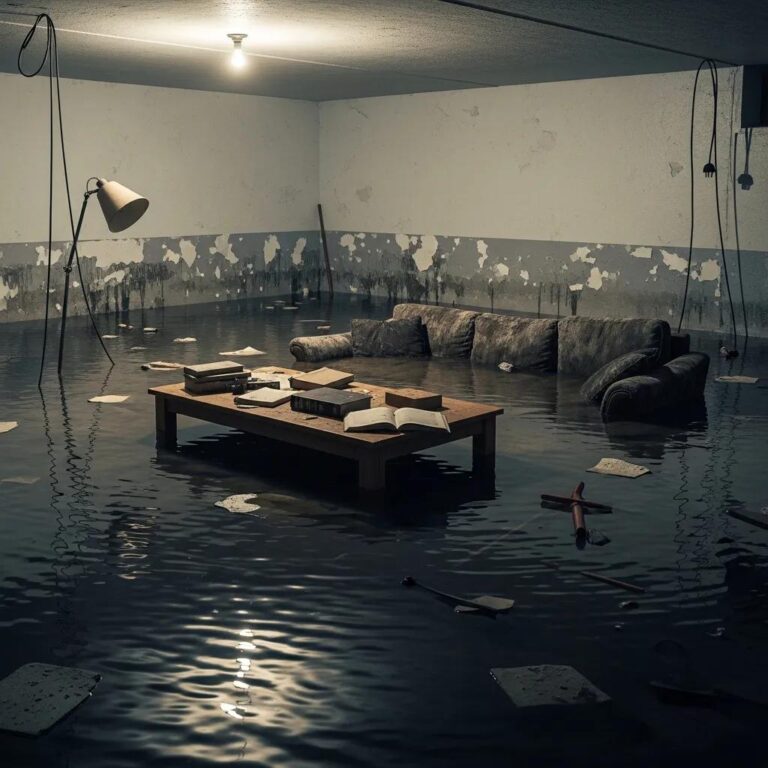
What Should You Do If a Pipe Bursts Despite Prevention Efforts?
Acting quickly after a burst pipe is crucial to reduce the water-soaked area, limit structural damage, and shorten the window for mold growth. Your immediate steps should focus on stopping the water flow, protecting electrical systems, and preserving your valuables. The prioritized emergency checklist below guides you through the critical first minutes and decisions that determine whether extensive restoration or remediation will be needed. Rapid mitigation not only minimizes repair costs but also significantly improves outcomes for drying and mold prevention.
Emergency Response: First Steps
- Turn off the main water supply immediately to stop additional flow.
- Shut off electricity in affected areas if water is near outlets or appliances.
- Contain and remove standing water using buckets, mops, and towels, while protecting any salvageable items.
These ordered actions reduce immediate risks and prepare the scene for restoration professionals to arrive and perform water extraction and drying effectively.
How Do You Turn Off Your Main Water Supply Quickly?
Locate your main shutoff valve—it’s usually near the water meter, on a basement wall, or where the service line enters your house—and turn it clockwise until it stops. Practice this motion beforehand so you can do it quickly under stress. Labeling the valve and keeping it accessible avoids delays when every second counts; keep a wrench nearby if the valve is stiff. After shutting off the main, open faucets to drain any residual water and relieve pressure before you begin cleanup. Regularly testing the valve ensures it will work when you need it most.
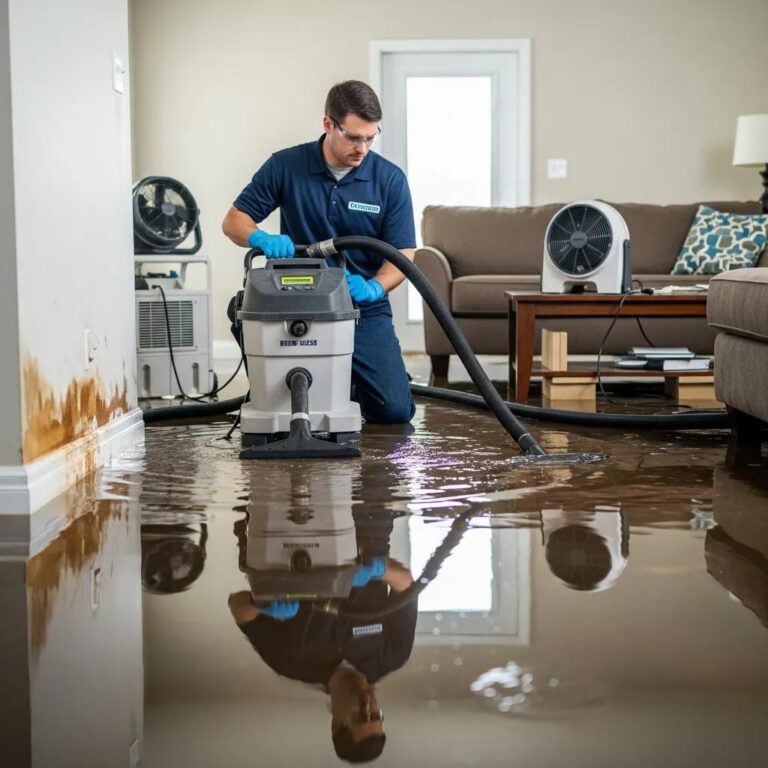
When Should You Contact Water Damage Restoration Services?
Call professional restoration services when the water volume is high, water has reached structural elements, there’s a risk of contamination, or drying requires equipment beyond what you have at home. Restoration pros will perform a thorough inspection, expert water extraction, structural drying, and necessary repairs, all while documenting conditions for insurance purposes. For serious events, a fast professional response significantly reduces the chance of secondary damage and mold growth within the critical 48–72 hour window. Engaging experts speeds up recovery and restores a safe, dry environment to your home.
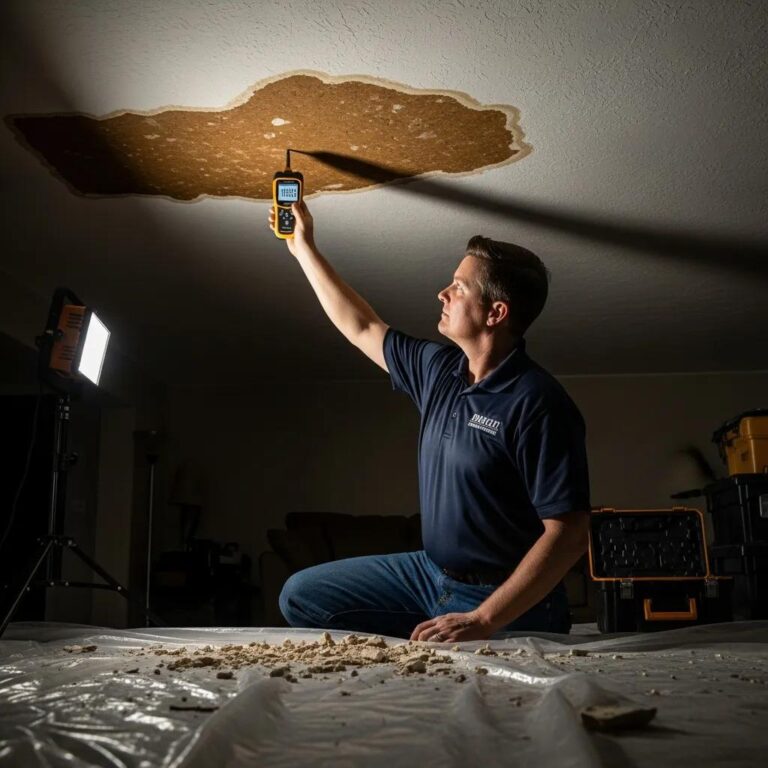
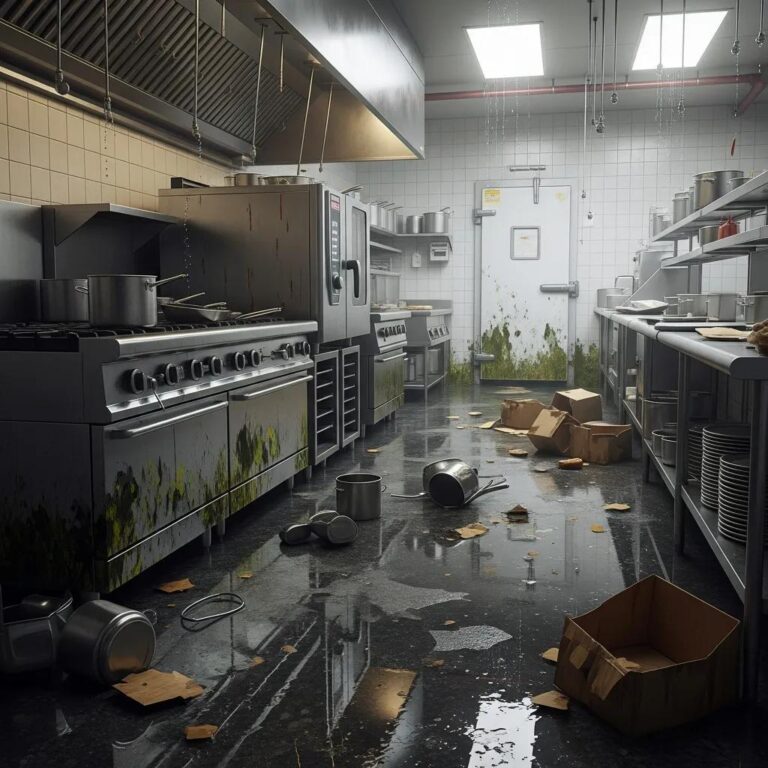
How Does Mold Remediation Prevent Further Damage After a Burst Pipe?
Mold can start growing on damp materials within just 48–72 hours. Remediation removes active mold growth, treats affected materials, and applies control measures to prevent it from coming back. Effective remediation involves identifying contaminated areas, containing the spread, removing or cleaning affected materials, and verifying complete dryness before any repairs. When prevention fails and water has infiltrated your building materials, professional mold remediation, integrated with drying and restoration, is essential to restore indoor air quality and prevent long-term structural damage. For emergency restoration and mold remediation assistance in Murfreesboro and Nashville, contact 24 Hour Flood Fighters for rapid response and expert cleanup.
Frequently Asked Questions About Frozen Pipes
What are the signs that my pipes may be at risk of freezing?
Signs that your pipes might be at risk of freezing include a noticeable drop in water flow, strange gurgling or clicking noises from your plumbing, and visible frost on any exposed pipes. If you spot any of these, it’s critical to take preventive action right away. Also, if your home is experiencing unusually cold temperatures, especially in areas where plumbing runs near exterior walls or in unheated spaces, be proactive in protecting those pipes to avoid a potential burst.
How can I improve insulation in vulnerable areas of my home?
You can significantly improve insulation in vulnerable areas by adding pipe insulation sleeves, sealing gaps around windows and doors, and insulating walls and attics. For exposed pipes in unheated spaces, consider using foam sleeves or fiberglass wrap. Additionally, sealing drafts with caulk or weather stripping helps maintain a consistent temperature around your plumbing. These measures not only protect against freezing but also boost your home’s overall energy efficiency.
Are there any specific products recommended for preventing frozen pipes?
Absolutely, several products are highly effective for preventing frozen pipes. Foam pipe insulation sleeves are a popular choice due to their easy installation and affordability. Heat tape is another excellent option, providing active heating for pipes in high-risk areas. Furthermore, smart water leak detectors and automatic shut-off systems can help you monitor and manage water flow, greatly reducing the risk of damage. When choosing products, consider the specific needs of your plumbing system and the areas most at risk.
What should I do if I suspect a pipe is frozen but not yet burst?
If you suspect a pipe is frozen, first, turn on the faucet connected to that pipe. This allows water to flow out once it starts to thaw, relieving pressure. Next, gently apply heat to the frozen section using a hairdryer, heat lamp, or warm towels. *Never* use an open flame, as this can severely damage the pipe. Keep the faucet open while applying heat, and watch for any signs of leaks as the ice melts. If you can’t find the frozen section or if the pipe does burst, contact a professional immediately.
How can I prepare my home for extreme cold weather?
Preparing your home for extreme cold weather involves several proactive steps. Start by thoroughly winterizing your plumbing, which includes draining outdoor hoses, insulating exposed pipes, and maintaining a consistent indoor temperature. Additionally, seal any drafts around windows and doors, and consider using small space heaters in unheated areas. Always keep an eye on the weather forecast and be ready to implement your winterization checklist as temperatures drop to ensure your plumbing stays protected.
What are the long-term benefits of investing in pipe insulation?
Investing in pipe insulation offers numerous long-term benefits, including a significantly reduced risk of frozen pipes and subsequent water damage, improved energy efficiency, and lower heating costs. Insulated pipes maintain a more stable temperature, which is crucial for preventing freezing during cold spells. Moreover, proper insulation can extend the lifespan of your plumbing system by reducing wear and tear caused by temperature fluctuations. Overall, the initial investment in insulation can save homeowners substantial costs and stress in the long run.
Conclusion
Preventing burst pipes is essential for safeguarding your home from costly water damage and mold growth. By implementing effective insulation strategies and utilizing modern technology, you can significantly reduce the risk of frozen pipes during harsh winter months. Take proactive steps today to protect your plumbing and ensure peace of mind throughout the cold season. For expert assistance and tailored solutions, contact 24 Hour Flood Fighters to help you winterize your home effectively.